
Install and Connect Your First Agent
Install the agent with one command, start it, and connect it to your workspace in a short guided two-step flow.
These images are illustrations of the concept, not screenshots of the actual product.
Overview
Every capability in VibeControls starts with an agent: a lightweight runtime installed on a machine you want to work on. This concept covers the first few minutes of that journey, from installing the agent on a laptop or server to seeing it registered and reporting status inside the workspace. The goal of the design is to make the path from zero to a connected machine short, explicit and hard to get wrong.
Onboarding developer tooling often fails on small details: which package manager to use, which version to pin, where the connection details come from and where they need to go. The concept answers each of those in place. The Getting Started page presents the install as one copyable command, with alternatives for Bun and npm, a note on the only prerequisite, and an optional field to pin a specific agent version instead of taking the latest.
The page then lays out numbered next steps. Starting the agent on the machine is designed to open a secure tunnel, generate an agent API key and wait for the platform. The user then goes to Targets & Agents, opens Add Agent, picks a target and pastes in the tunnel URL and key. The Add New Agent wizard illustration shows that second half: a two-step Setup and Validate flow, collapsible install instructions with copyable start commands, and required fields for the agent name, the target machine, the tunnel URL and the masked API key, with an inline link to create a new target if the machine is not listed yet.
Once submitted, the agent joins the fleet and appears in the agents list and on the overview. From there it can run terminal sessions, host plugins, serve vibes and take part in automation, so this short flow is the foundation for everything else the product does.
What this concept shows
- Install tabs for a recommended curl one-liner, Bun and npm, each with a copy button
- Optional field to pin a specific agent version, left blank to take the latest
- Numbered next steps that explain what starting the agent does and what to do with its output
- A separate CLI Reference tab alongside the install instructions
- Two-step Add New Agent wizard with Setup and Validate stages
- Required fields for target, tunnel URL and a masked agent API key with a reveal control
- Inline option to create a new target without leaving the wizard
How it works
- Open Getting Started and choose an install method: the recommended curl command, Bun or npm.
- Optionally pin a specific agent version, then copy and run the install command on the machine you want to manage.
- Start the agent so it opens a tunnel, generates an API key and waits to be registered.
- Go to Targets & Agents, open Add Agent and fill in a name, pick or create the target, and paste the tunnel URL and API key.
- Submit and connect, then let the Validate step confirm the agent is reachable and watch its status appear in the fleet.
Who it's for
- Developers setting up their first machine in a new workspace
- Platform engineers onboarding servers and CI runners to the fleet
- Team leads standardizing how new teammates connect their laptops
- Consultants connecting client machines for a new engagement
Illustrations
2 illustrations of this concept. Select one to view it full size.
Getting Started: Install the Agent
This illustration shows the Getting Started page, reached from the overview, with Install and CLI Reference tabs at the top. An Install the Agent card explains that the agent is installed on the machine you want to manage and then started, notes that Bun or a recent Node runtime is the only prerequisite, and links to the full install documentation. Below it, a second card offers three install methods as tabs, with the curl option marked as recommended. The selected command sits in a terminal-style field with a copy button and a note that it works on any operating system without a package manager. An optional field lets you pin a specific agent version or leave it blank for the latest. A Next steps card walks through starting the agent, which sets up a tunnel and an API key, registering it through Targets & Agents and Add Agent, and waiting for it to connect.
Add New Agent Wizard
This illustration shows the Add New Agent dialog opened over the Targets & Agents page, whose agents table and status chart are dimmed in the background. The dialog explains that it connects a running agent to the current workspace and shows a two-step progress indicator, Setup followed by Validate. A collapsible Agent Install Instructions panel repeats the start command in copyable chips and tells you to copy the printed tunnel URL and API key into the fields below. The form asks for a name, a required target chosen from a dropdown that shows the connection type, with a link to create a new target, a required API or tunnel URL, and a required agent API key that is masked by default with a control to reveal it. Helper text explains how to retrieve the key on the agent. Cancel and Submit & Connect buttons close the flow.
Topics
- install developer agent
- connect agent to workspace
- agent onboarding wizard
- one-line agent install
- pin agent version
- register remote machine
- agent API key setup
- tunnel URL agent connection
- getting started developer platform
Related concepts
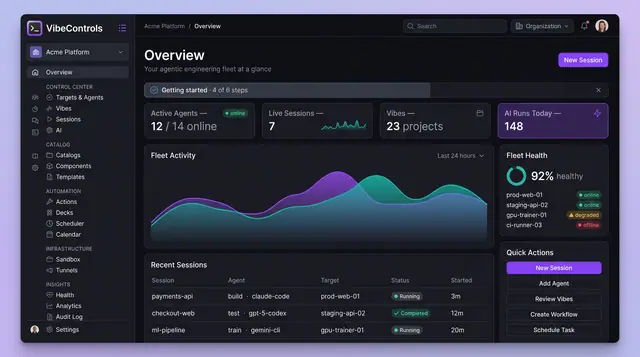
Fleet Mission Control Overview
One home screen for every agent, session, project and AI run in your engineering fleet, on desktop or on your phone.
2 illustrations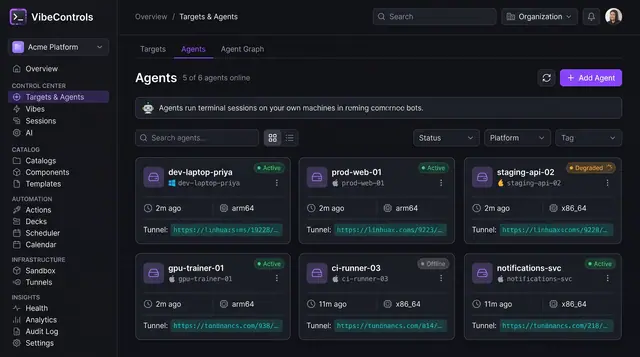
Agent Fleet and Agent Detail
See every agent's status, platform and tunnel at a glance, then drill into one agent to manage its plugins, sessions and logs.
2 illustrations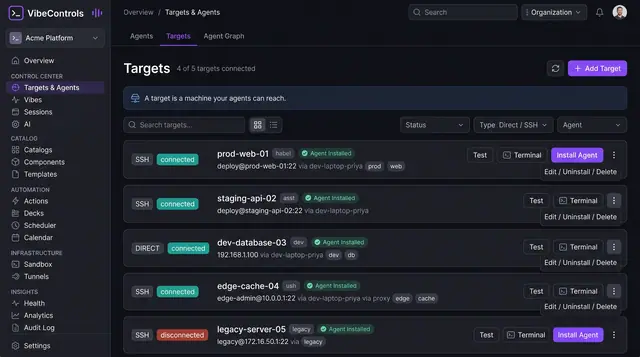
Targets and Agent Mesh Topology
Register the machines your agents can reach over SSH or directly, and see the agent-to-agent mesh as an interactive graph.
3 illustrations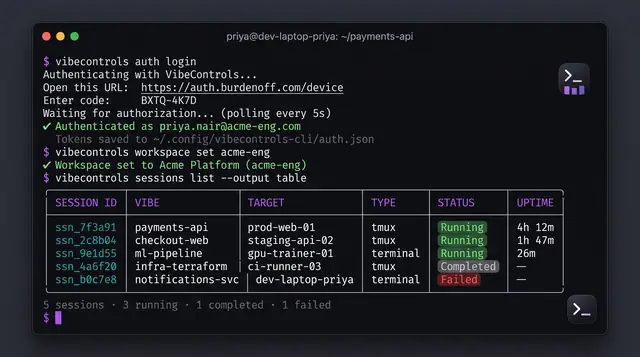
Command-Line and MCP Control
Sign in, pick a workspace and manage sessions from your terminal, or let an MCP-capable AI assistant do it for you.
2 illustrations